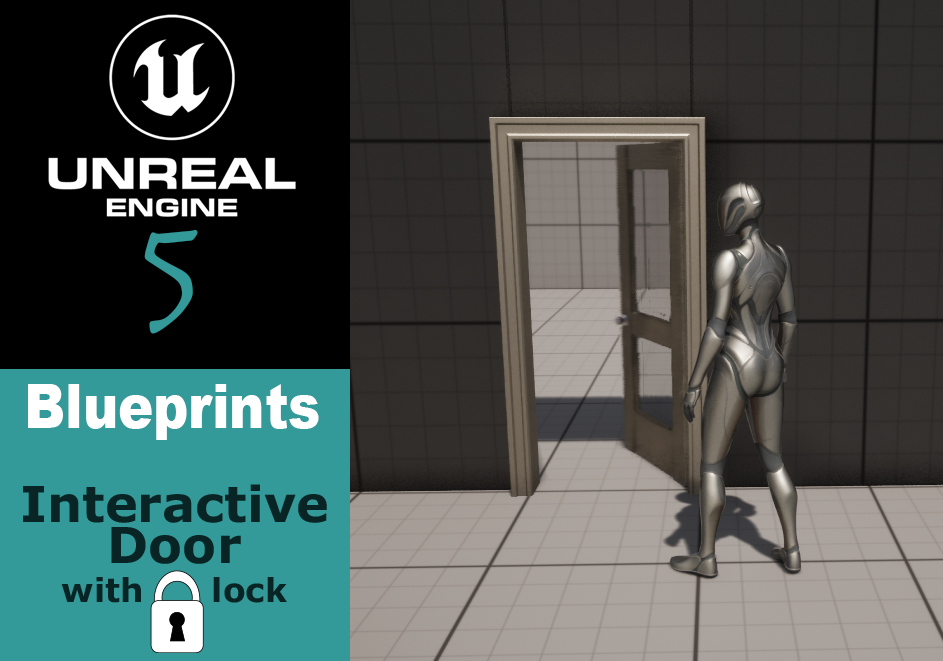
In this tutorial, I’ll be sharing my discoveries and in creating functional and lockable doors using blueprints in Unreal Engine. Learn how to create your own dynamic doors with the power of blueprints!
Do note that Unreal Engine contains some starter objects you have have set up on project creation or you can add in after the fact. Among these objects is a doorframe and a door that I used. If you follow along make sure to add those objects, or something similar of your own.
Preview of the End Product
Final product. The player can run up to a door that blocks their path, open close and close the door. They can also lock the door which prevents them from opening.
How I Did It
Creating the Door
To start off, I had to add a door. So I created a Blueprint class of Actor named BP_Door. Once created, I had to set up the door within it.
In the viewport of BP_Door:
- Add the doorframe from Unreal’s starter content. To do this, click add → Static Mesh. In the details of the mesh is a “static mesh” property. Select the
SM_DoorFramemesh to set the doorframe. - Add the door. Select the doorframe, go to add → Static Mesh, and set the
SM_Dooras the mesh property. In my case, it automatically set the door to the doorframe mesh. I just had to update it.
3. Align the door. Set the Translate tool (e) and move the door to sit properly within the doorframe. Snapping made this hard, so set the snapping from 10 to 1 to get it just right.

4. Add box collision. In order to interact with the door we need some kind of collision trigger. Add → Box Trigger and place it around the doorframe. I had it a little wider and taller than the frame itself, and a decent spacing away from the door depth-wise to give the player a little more distance where they can interact with it.

Making the Door Interactive
In the door blueprint, I set it up for interaction.
Go to the Event Graph, click on the box collision and you can create the On Component Begin and On Component End triggers. If you don’t have the box selected, you won’t find these options.

Essentially what this does is enables the input whenever the player controller is within the box collision range, and deactivates it when they leave.
Opening and Closing the Door
I bound the key to open and close the door to “E”. The flip flop node makes setting up doors really straightfoward. When Option A, it opens the door by rotating it 90 degrees on the z axis. When Option B, it sets the Z rotation back to 0.

To make this look animated, we had to add the DoorTimeline. It’s a Timeline Node that gradually changes the Z axis value over a period of time. Without it, the door just snapped between 0 and 90.
For the DoorTimeline (double click to view), I had to add a new float track from the button at the top left. Then right click on the graph to set a point a 0 seconds and value 0. Then do so again at 1.5 seconds and 90 value, which is the rotation.

Locking the Door
First, I set the keybind to E and selected Shift from the details panel to get the modifier set up. I then set up a variable to see if the door is open, and one to see if it is locked. If it is neither opened, nor locked, then Shift E will lock. If it’s closed and locked, it unlocks.

Updating the Door trigger to account for locking wasn’t too difficult. I just added a branch to check if the door was locked. If not, it’d proceed with opening the door. If so, nothing would happen but a debug string printed.

At the end, I set a variable to isOpen, to determine if I could lock the door or not. This is set if the door is rotated on the Z axis by more than 1 degree.
Adding Collision to the Door
While by default, the doorframe has collision that prevents the player from walking through it, the door does not. So while I have a fully functional door that can be locked, all that is easily bypassed by simply walking through the object.
To resolve this, I needed to add a collision box.
- Go to the content drawer and find the
SM_Doorfrom the starter content (StarterContent → Props). - Double click on the door to open the mesh editor.
- In the top bar, go to Collision → Add Box Simplified Collision. The collision should automatically match the door size.
And you’re done! Save and compile all the changes, drop the BP_Doorframe blueprint into the test world and try it out.
